Ever wondered what the perfect left chest embroidery size is and how the digitizers get it right? It’s one of the most complicated phases of creating embroidery art. Only professionals know how to fix the perfect size for your left chest embroidery design. Thus, as a customer, you are advised to contact experienced embroidery digitizing teams like Digit-IT to get a premium quality outcome.
Brands like supermarkets, schools, or sports teams are the target audience of logo embroidery services. Such businesses look for all the minor details regarding the services of their preferred embroidery digitizer because, as mentioned above, it’s not easy to handle the left chest embroidery size with respect to different types of fabric.
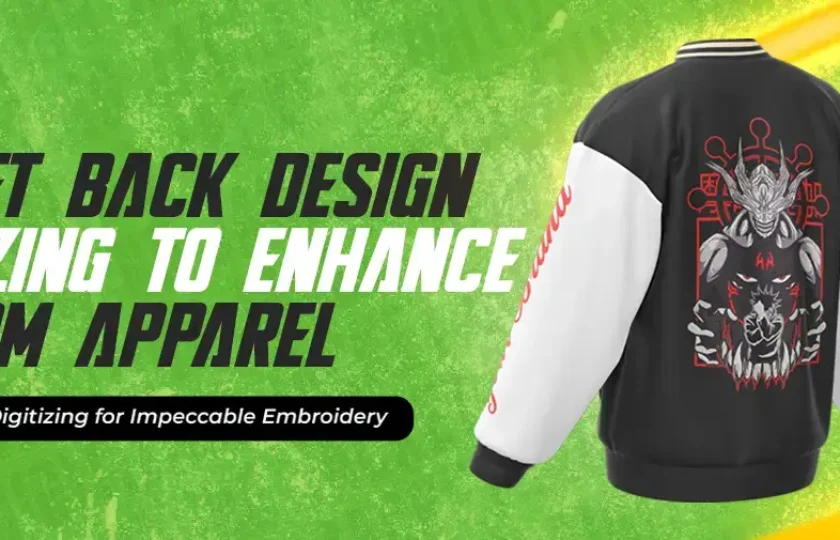
How to Order Custom Embroidered T-shirt?
Customized embroidery t-shirts are easily available on the internet and can be bought digitally without any hesitation. However, it isn’t that easy! On most occasions the embroidery specialists do not get the left chest embroidery size right for your outfit, and it ends up becoming an awkwardly large or small design, which doesn’t look pleasant at all. Therefore, customers must always look for experienced service providers who have a reputable portfolio and positive reviews available on the internet.
Here are a few important points to consider before you make a purchase:
- Keep an eye on the professionalism of your embroidery digitizer.
- Your design will have the perfect left chest embroidery size if the fabric you choose suits the stitch type.
- Read online reviews about the best digitizers who are known for placing perfect left chest embroidery sizes.
The Standard Left Chest Embroidery Size
Let’s start with the industry-standard measurement. Typically, the left chest embroidery size ranges between 3.5 and 4 inches wide, and the height may vary depending on the logo’s shape. For instance, a circular or square logo might be closer to 3.5 inches in both width and height. Long text-based logos might stretch up to 4 inches in width but stay under 2 inches in height.
However, these are just general guidelines. The actual embroidery size chest shirt requires adjustments based on the shirt’s dimensions and the logo’s complexity. The idea is to maintain balance: the logo should be visible, readable, and proportionate to the shirt without overwhelming it.
Importance of the Left Chest Logo Size Guide
Using a left chest logo size guide is essential when setting up files for embroidery. Many professional digitizing teams use placement templates and software to center the logo perfectly. This guide ensures consistency across all shirts, especially in bulk orders.
The left chest logo size guide also considers different shirt types, like polo shirts, dress shirts, jackets, and uniforms, all of which have varying placements and visibility requirements. For instance, polo shirt chest logo dimensions may differ slightly from formal dress shirts because of the fabric texture and button placement.
Polo Shirt Chest Logo Dimensions
Polo shirt chest logo dimensions often follow a specific structure. Since polos are commonly used in corporate environments, golf events, or uniforms, the embroidery must be crisp and professional. The most common width is between 3.25 and 3.75 inches, depending on the logo shape. For tall, vertical logos, the width may be even smaller, while horizontal logos can go up to 4 inches.
It’s also important to consider the placement height. Typically, the center of the embroidery is positioned about 7 to 9 inches from the shoulder seam and about 4 inches from the center placket. All these fine-tuned measurements play a role in getting the left chest embroidery size right.
How Digitizers Determine Left Chest Embroidery Size
Professional digitizers follow a structured process to determine the correct left chest embroidery size. It includes:
Vector Analysis
This is the first and most crucial step in preparing a design for embroidery. Vector analysis involves taking the original design file, whether it’s a logo, name, or symbol, and converting it into a format that embroidery software and machines can understand. Raster images like JPG or PNG are often not ideal for achieving precision in left chest embroidery sizes because they lack scalability and clarity.
Stitch Simulation
Once the design has been vectorized and digitized, the next step is stitch simulation. This process uses specialized embroidery digitizing software to test how different stitch types like satin, fill, or running stitch will look on the chosen design.
Mockups
Before moving into actual production, mockups are created to visualize the final look. A mockup is a digital rendering that places the digitized design onto a virtual garment, such as a polo shirt or jacket.
Sample Stitch-Outs
Finally, test embroidery, commonly called a sample stitch-out, is performed on a similar fabric to the final garment. This hands-on test ensures that the design translates from screen to cloth accurately.
Digit-IT specializes in creating customized embroidery t-shirts at affordable prices to cater to the needs of different customers. Order now and get a customized embroidery design for your t-shirt today!
Digit-IT also provides digital marketing services strategies that boost your brand visibility, whether on social media or your official website.